Package Installation
The package arrived as scheduled and when I got home from work, I was greeted with 10,000 smiling faces. Well, I couldn't really tell if they were actually smiling but I'm going to assume they were. There was a chance of rain this day and they were delivered outside so my youngest daughter home from college for the summer, who is terrified of bees, fought through the fear and moved them into the garage. Thank you!!
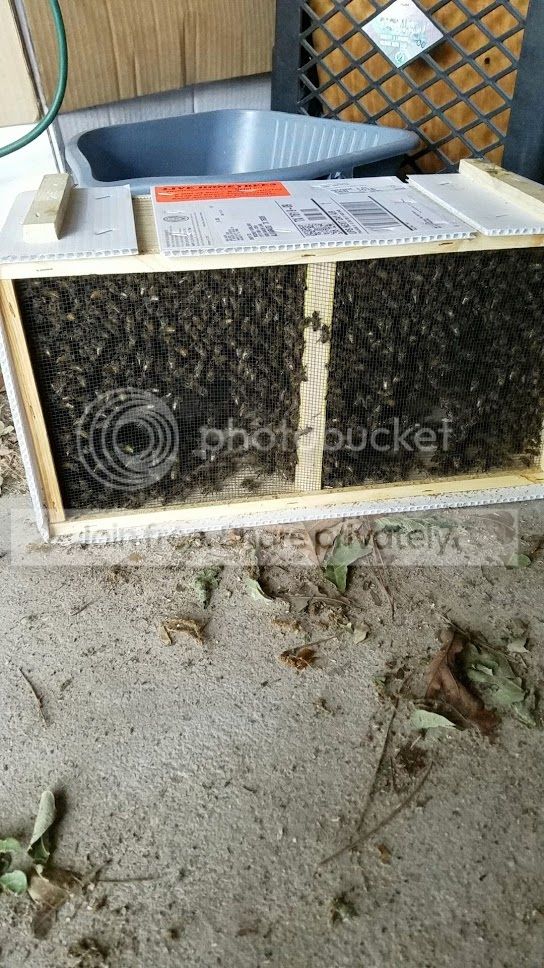


So with my brain filled with expert knowledge (ahem), with the assistance of my wife, two of my daughters, and three grandchildren, the bees and assorted accessories were carried to the far reaches of the netherlands, also known as the back fence.

First I placed the jars of sugar water into their proper holes. This first picture shows better what the feeder board looks like. I stapled #8 wire mesh to the underside so the bees could not exit when I remove the jars to refill. The divider board on the right has two holes in the bottom to allow them entrance into the feeder area. The divider board on the left is solid to prevent them from entering the rear of the hive. The jars I use are 32 oz. mason jars.

First I placed the jars of sugar water into their proper holes. This first picture shows better what the feeder board looks like. I stapled #8 wire mesh to the underside so the bees could not exit when I remove the jars to refill. The divider board on the right has two holes in the bottom to allow them entrance into the feeder area. The divider board on the left is solid to prevent them from entering the rear of the hive. The jars I use are 32 oz. mason jars.


Sprayed the package down with the sugar water and removed the queen cage. This queen cage did not come with any drones inside so the cage was hung in this orientation.


I sat her aside on top of the bars and shook the bees into the hive. I then dipped her into the mass of bees so some would attach themselves to the cage and tell the others where to find her. After that, I attached her to a top bar with a push pin and closed up the hive.

This looks like I was squashing the bees with the top bar but I wasn't. I had gently moved them and sat one edge down and did the same with the other side. They were moving so much that they were right up against the bar rather quickly.


Almost all of the bees came out during the shake down. I sat the box down in front of the entrance holes and after about two hours they were all out. My first installation of bees was a success!

So you may be wondering about all of the gear I had bought and worried about. After watching so many installation videos and nobody was wearing any protective gear, I made the potentially foolish assumption that there was no need for it at this point. Fortunately I was right. It seems that after spraying them down they were pretty calm and though quite a few flew around, most stayed in the hive walking around and the ones that did fly had no interest in stinging. I had lit the smoker but that also never came into play. I forgot to bring the bee brush with me so I improvised with weeds and a piece of cardboard.
Now about the sugar water. Everyone calls it syrup. I don't know why. When I first heard that you feed the bees syrup, I was expecting what you put on pancakes. It is really 1 part water and 1 part sugar. So for what I needed I used one 4 pound bag of sugar and 2 quarts of water (2 quarts of water weighs about 4 pounds). It is sticky as everything but it is sugar water so with my rebellion against conformity, I will always refer to it as sugar water.
Comments
Post a Comment